It’s a situation most of us have probably pondered: what do I do if I break a bone, severely sprain an ankle, or otherwise render a part of my body unusable while trail running in a remote location? Don’t worry, not all hope is lost! This article will show you exactly what to do.
Scenario 1
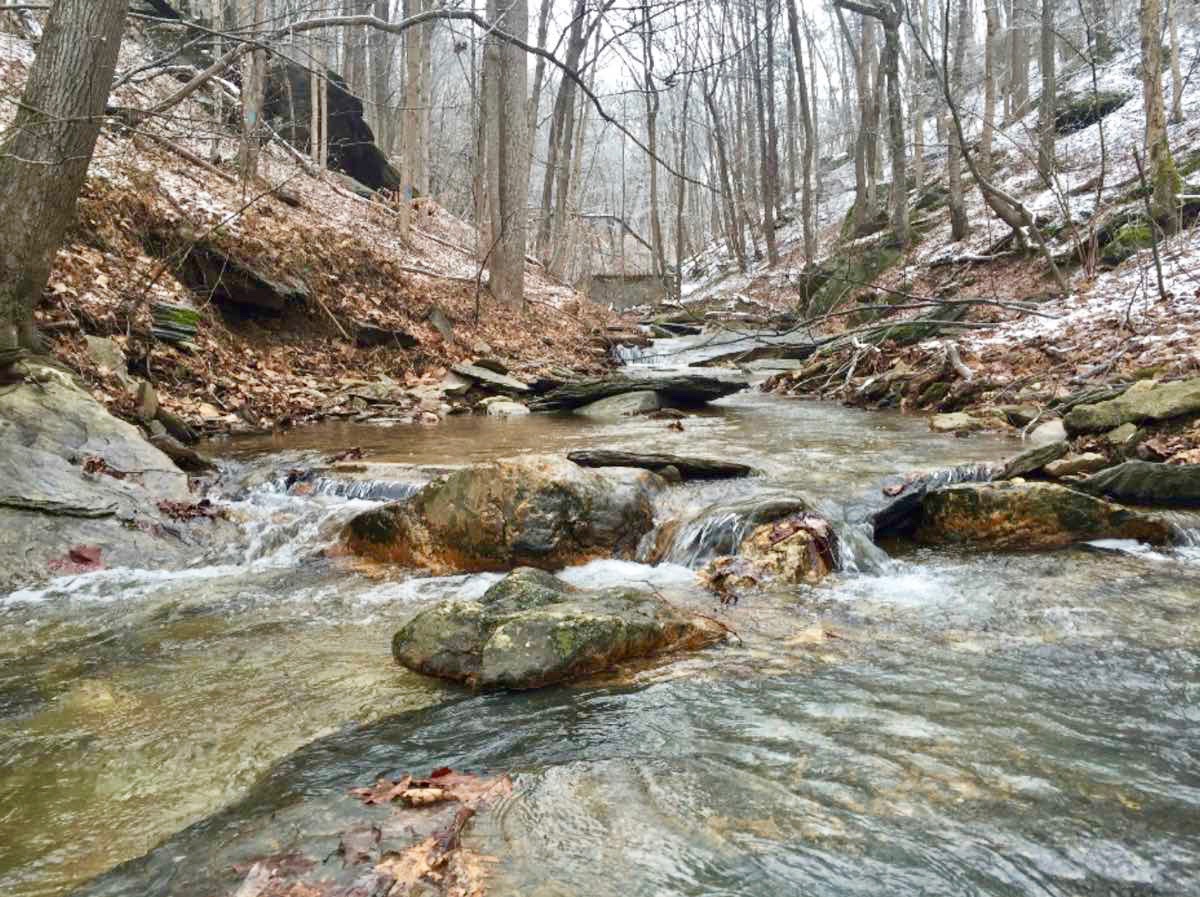
You and your friend are five miles into your run when you come to small stream. It’s a chilly morning, and neither of you want to get your feet wet. Your friend steps onto a rock midstream, and, quick as lightning, slips sideways and topples off. He lands on his outstretched arm and yells. “OH MY GOD! OH GEEZ! DANG! DANG! DANG!!”
He sits on dry ground cradling his wrist, and says, “I think it’s broken.” He pulls back his fingers and you can see that his wrist is deformed. There’s a golf-ball sized lump near his thumb and his hand is angled down unnaturally.
You need to get your friend back to the trailhead and to the hospital. How should you stabilize his wrist for the four-mile hike?
You’ll need to immobilize and support the wrist. You’ll also need to immobilize his hand and forearm. If any of the bones of the wrist, hand, or forearm move, your friend is going to be in even more pain than he is now.
Here’s what you have with you. How can you make an effective splint with it?
- 2 trekking poles
- 2 hydration packs with soft flask water bottles
- 2 rain jackets
- 2 buffs
- 2 hats
- 2 pairs of gloves
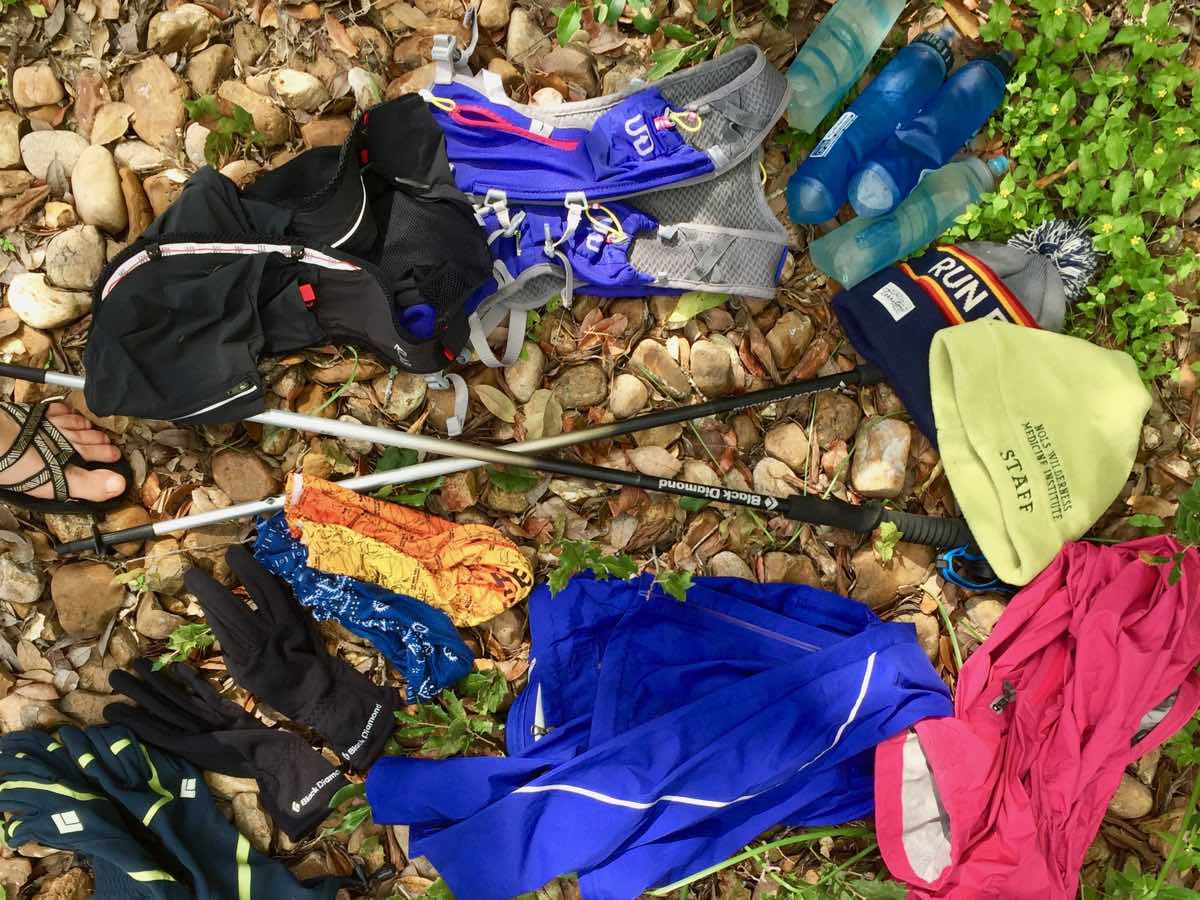
The materials you have to make an arm splint. All photos iRunFar/Liza Howard unless otherwise noted.
Create the splint in your mind before continuing.
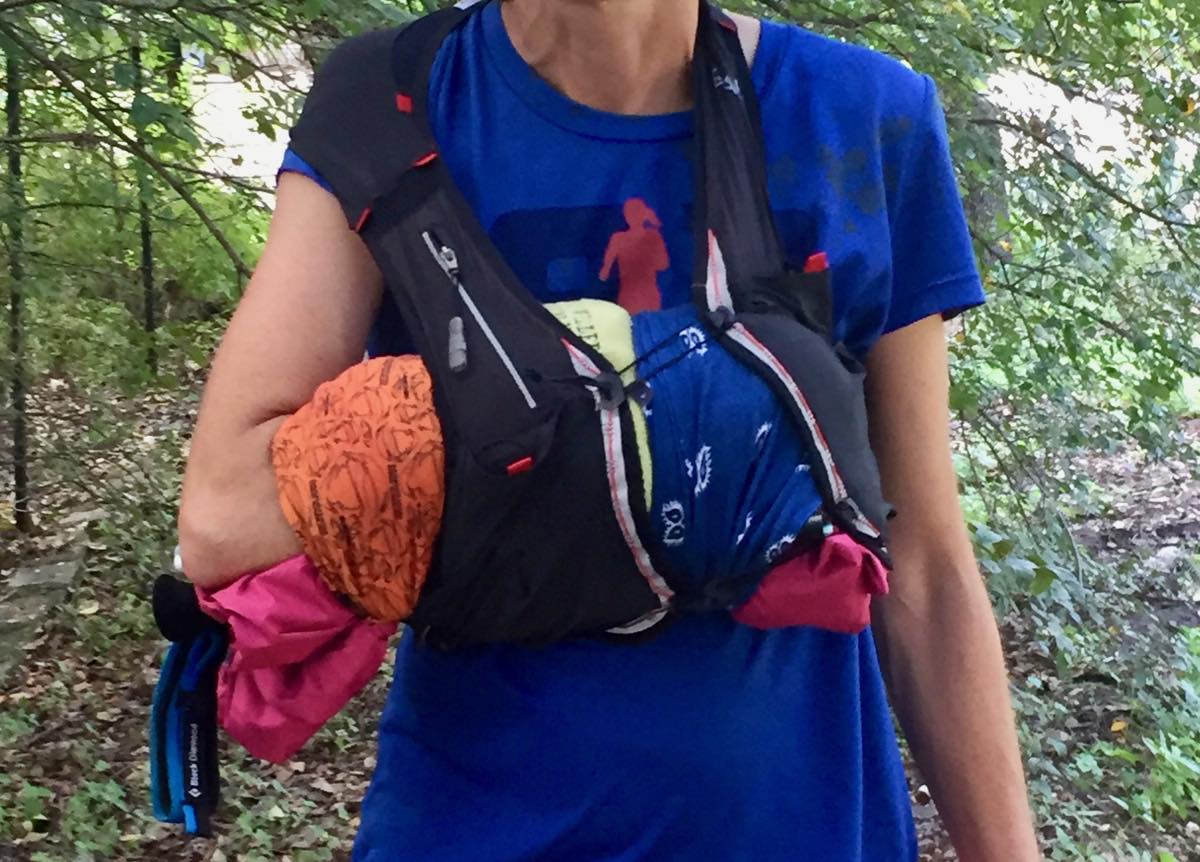
Maybe you made something like this?
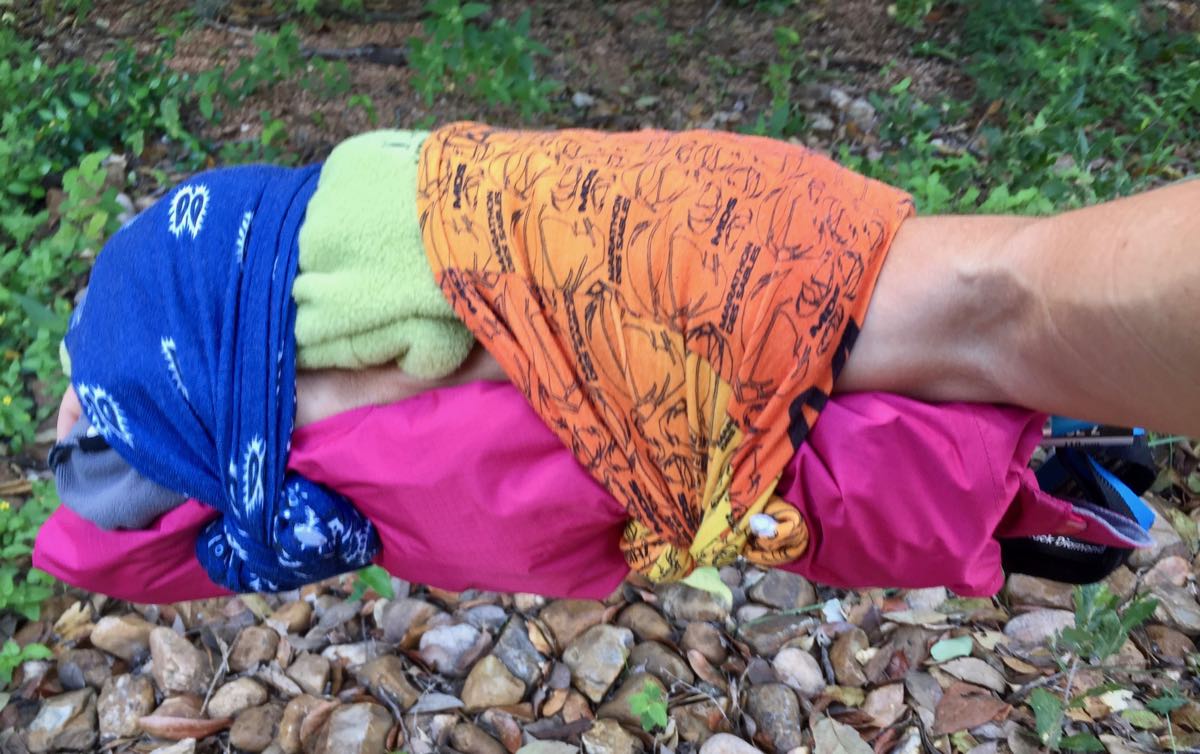
One trekking pole is folded inside the rain jacket and provides rigidity. The rain jacket gives good padding underneath, and the hats and gloves provide padding on top. The fourth glove is in the patient’s hand to keep it in a position of function. The buffs compress all the padding and keep the splint together.
And then you used the rain jacket as a sling.
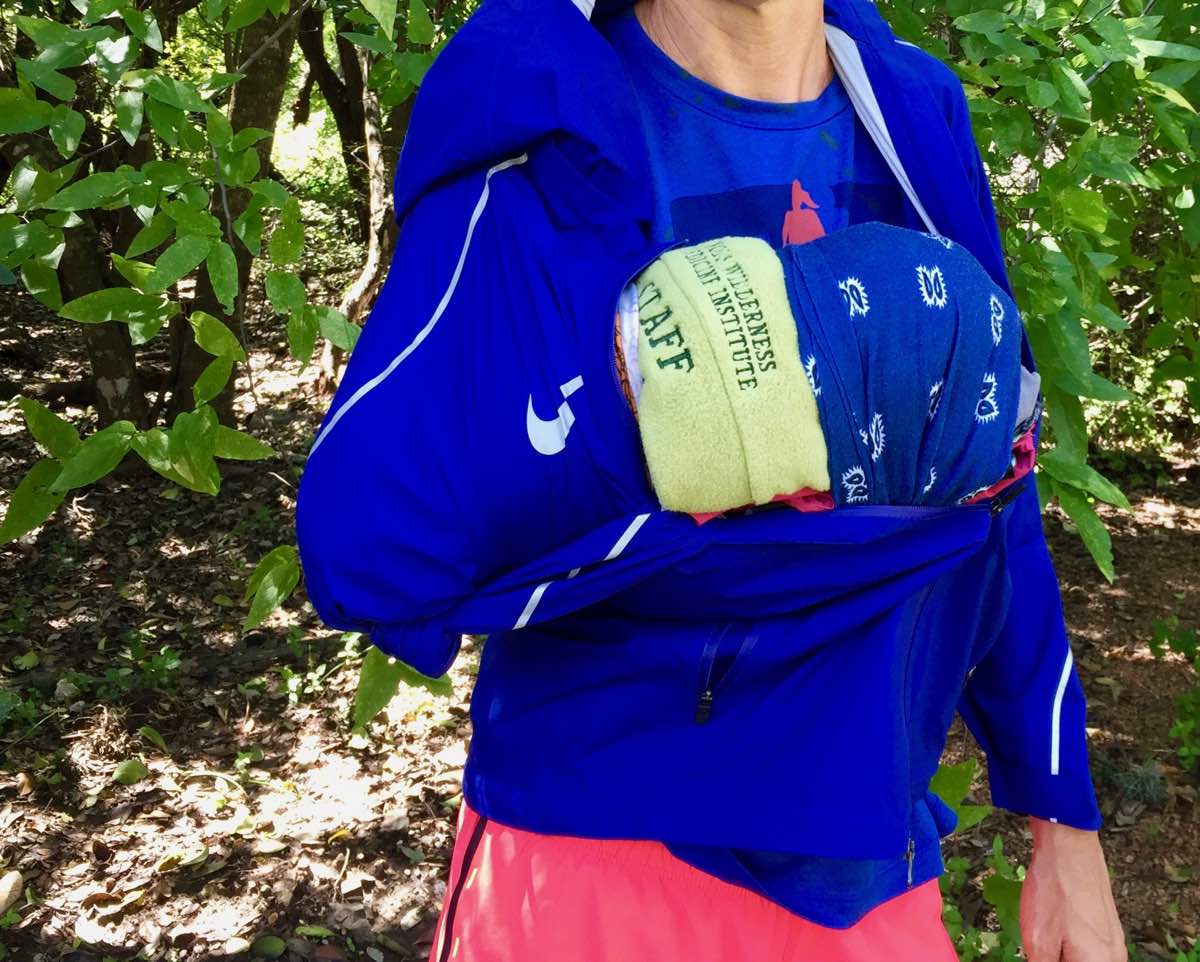
The patient’s elbow is inserted into the sleeve of the rain jacket, then the sleeve is tied off to secure it. Zipping the jacket further immobilizes the splinted arm.
Or maybe you imagined something like this?
Either works well because both:
- Immobilize the bones above and below the injured joint
- Protect the injury with padding
- Are rigid
- Are adjustable (You might need adjust the splint as you hike, so don’t use any duct tape in
- your creation.)
- Keep the fingers accessible
What would change if this had been an open fracture and the broken bone had torn through the skin? (Besides you feeling very nauseated.)
You still want to minimize your friend’s pain by minimizing the movement of his wrist and lower arm with a splint. And you still want to get your friend the hospital. But the speed with which you get to the hospital becomes paramount. The faster your friend gets to the hospital, the less chance he’ll suffer a dangerous infection. You need to get to antibiotics and an orthopedic surgeon.
Clean the wound with water from your water bottle. Don’t let the exposed bone ends become dry or very cold. You could put a moist bandanna or buff over the bones and wound to accomplish this. (Covering the grisly wound will also make you feel a lot better.)
Then build your splint and figure out the fastest way to get your friend to an ambulance or hospital. The best route to antibiotics and surgeons will vary based on exactly where you are. You might hike to where you’ll meet an ambulance, or hike to your car to drive to the hospital, or you might have to wait for search and rescue.
Speed is also vital if there is diminished circulation below the injury. Diminished circulation might mean you can’t find your friend’s pulse in their injured wrist, or the injured hand is noticeably colder or paler than the uninjured hand, or your friend feels numbness or tingling in the injured hand.
Happily, in this scenario, your friend doesn’t complain of any of these things. Just pain. You and he hike the four miles back to the trailhead and drive to the hospital, where the staff is wildly impressed with your splint and sling. You friend’s arm heals well, and he’s able to run the Trash Panda 50k in the fall.
Scenario 2
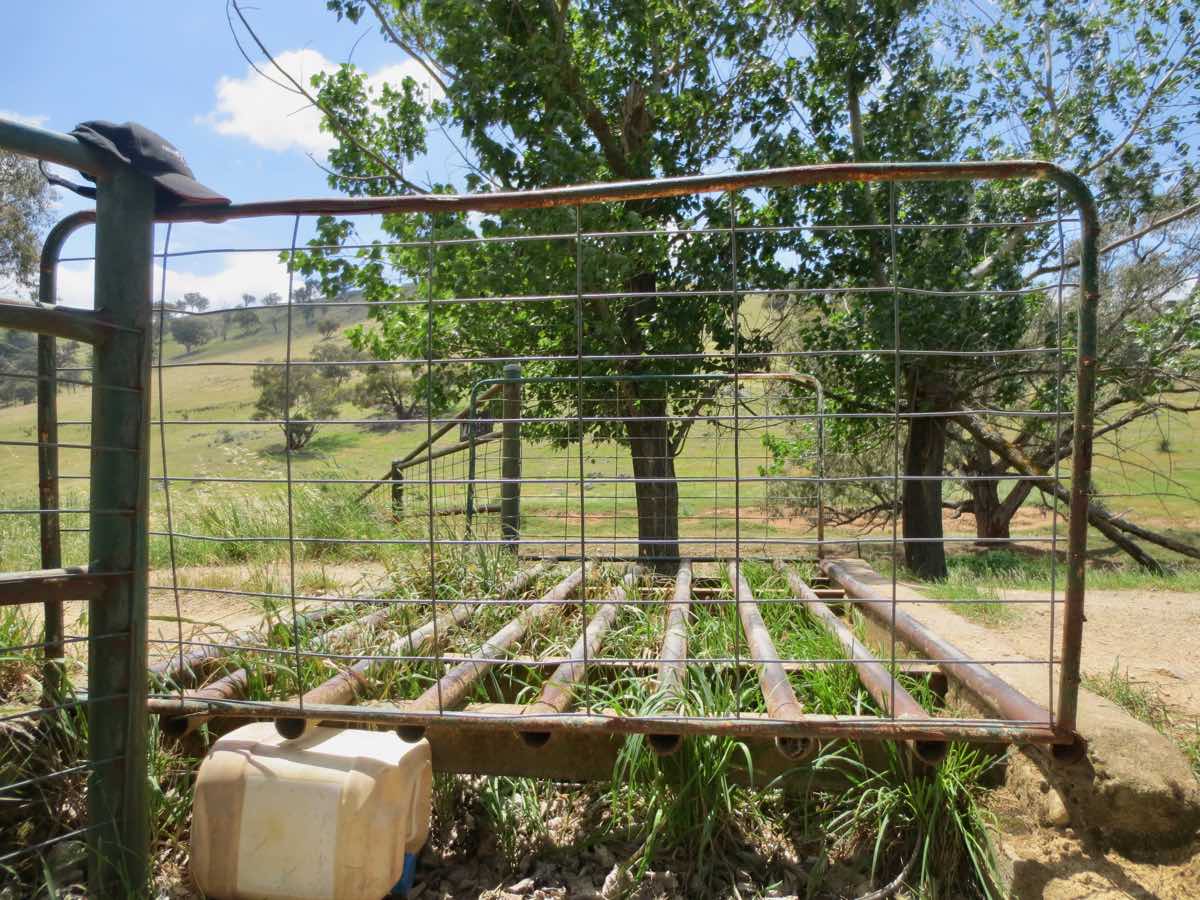
As you run across a metal cattle guard, your foot slips between the bars. Your momentum carries you forward and your shin slams into the metal. The pain is excruciating. Your friend helps you extract your leg and you crawl over to the grass. When you try to stand and put weight on your leg, you swear like Yosemite Sam. There’s no way you can put any pressure on your lower leg. You’re about 10 miles from your car and there’s no cell reception.
What now?
Just like the unusable wrist injury, you want to immobilize the unusable leg injury completely to limit pain during evacuation. The same splinting principles apply except now, with a bone injury, you’ll focus on immobilizing the joints above and below the injury.
Splints should:
- Immobilize the bones above and below the injured joint or immobilize the joints above and below the injured bone
- Protect the injury with padding
- Be rigid
- Be adjustable
- Keep the fingers and toes accessible
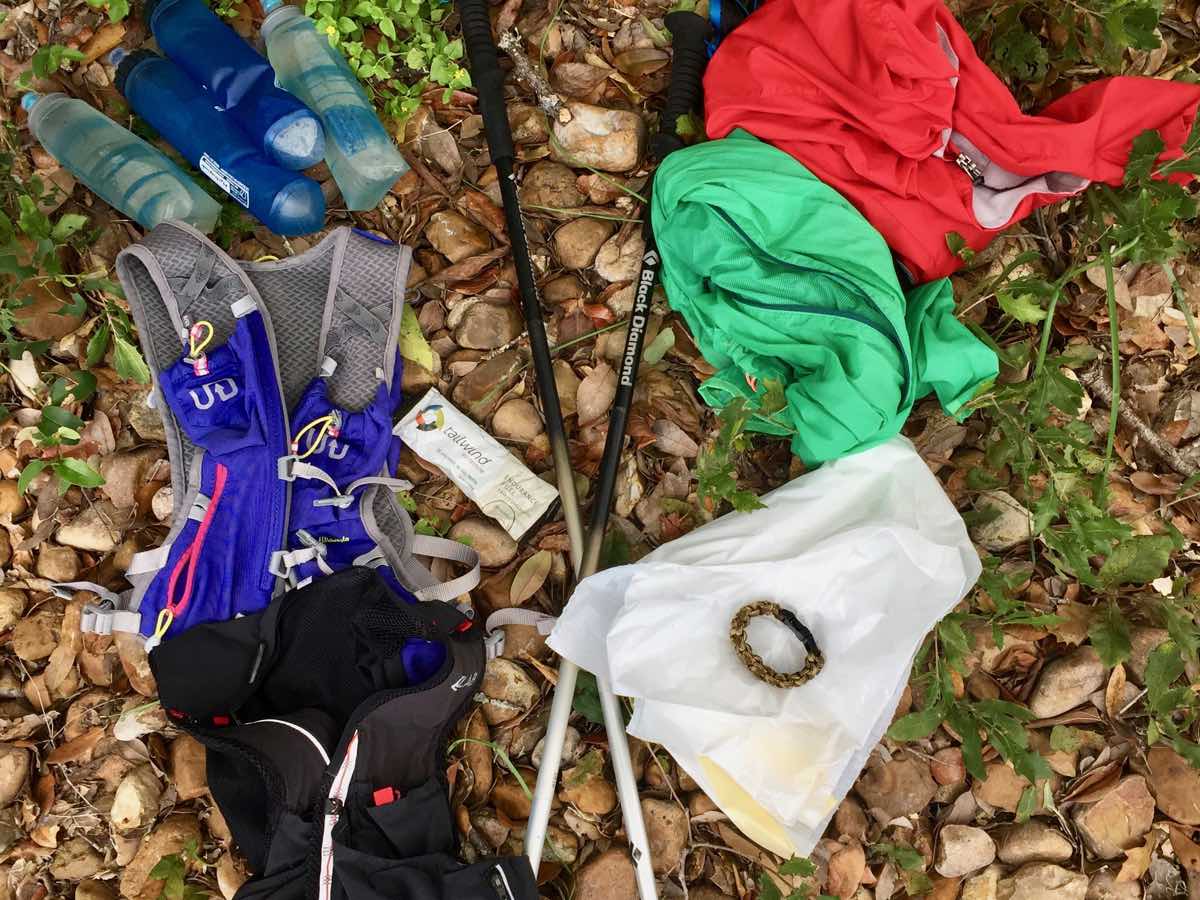
Here’s what you have with you. How can you make an effective lower-leg splint with it?
- 2 hydration packs
- 2 windbreaker jackets
- 1 emergency trash bag
- 1 packet of Tailwind
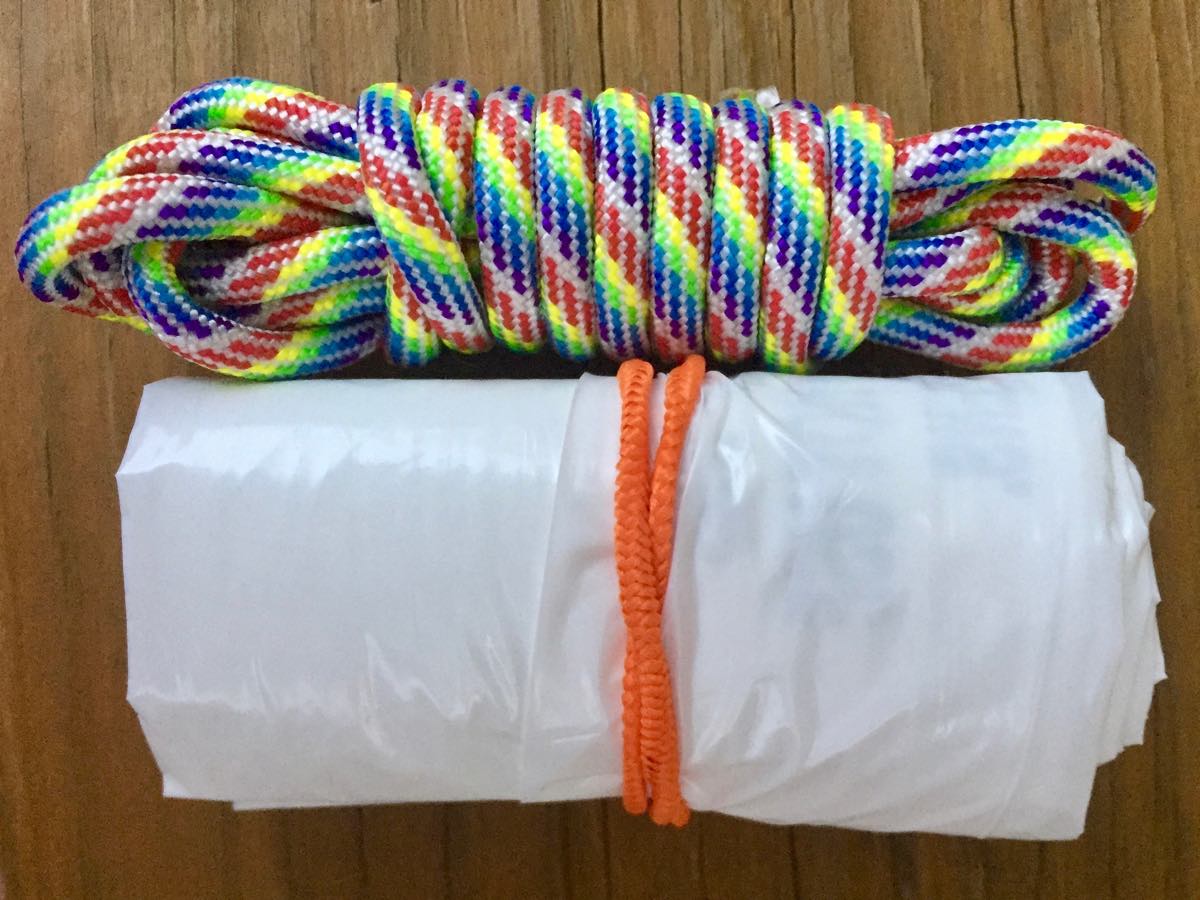
- 1 bracelet of parachute cord
- 2 trekking poles
Create the splint in your mind before continuing.
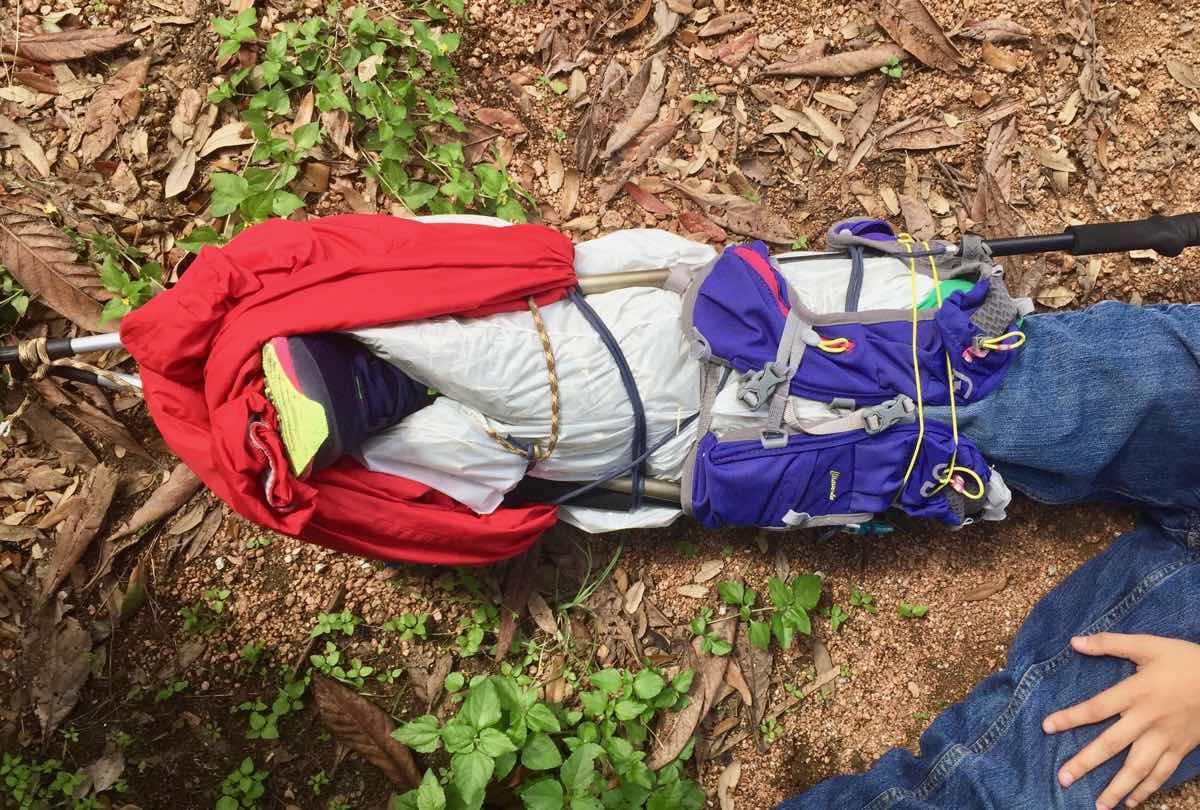
The trekking poles are crossed and tied together with the cord. They create a foot bed to keep the foot in its position of function and immobilized. To keep the toes accessible, you could have removed the shoe, turned it upside down and put it between the poles. The patient’s foot would rest against the sole of the shoe. The wind jacket is used to make a stirrup to further immobilize the foot.
The splint works because it:
- Immobilizes the joints above and below the injured bone
- The ankle is immobilized by the shoe and trekking poles
- The knee is immobilized by the trekking poles
- Protects the injury with padding
- The trash bag is filled with grass and leaves
- Is rigid
- The trekking poles provide rigidity and long sticks could do the same
- Is adjustable
- The bracelet was unraveled to secure the splint
The downside of an unusable leg injury (besides having an unusable leg injury) is that there’s no walking out on it. You mix up some Tailwind for your friend and make sure he’s comfortable leaning against a tree. Then you run down the road until you get cell reception and call the ranger station for the park through which you are running. They drive out, load your friend in the back of an off-road vehicle, and rendezvous with an ambulance at the park entrance. Everyone is impressed with the quality of your splint including your friend whose leg was comfortable during the bumping and jostling of the transport.
Pain Management
You can decrease your friend’s pain some by putting something cold on the injury. Ice or snow in a bag, buff, or bandana would work well if they’re available. A soft flask full of very cold water might also provide some relief. Leave the cold on for 20 to 40 minutes. Then allow the skin to rewarm before reapplying. Keeping the injury elevated can also help decrease the pain. And, certainly, if you happen to have over-the-counter pain medication with you, your friend could take it as prescribed on the packaging.
Trail Runner’s First Aid Kit
We’ll discuss how to create the best trail runner’s first aid kit in a future article. But begin to think about small items you could put in your hydration pack that would be useful for splinting. I carry some parachute cord and a trash bag with me. They don’t weigh much and don’t take up much space in my pack or handheld.
Practice
Make an improvised splint for a wrist, forearm, clavicle, or lower leg using only the gear you usually run with. Share a photo of your splint with us in the comments.
[Author’s Note: Learn more about caring for unusable muscle and bone injuries in the field and other wilderness first-aid skills with a two-day NOLS course. Thank you to Tod Schimelpfenig, NOLS Wilderness Medicine’s Curriculum Director and author of NOLS Wilderness Medicine, for his guidance and oversight of this series. Thanks also to graphic artist Brendan Leonard, the trail and ultrarunner of Semi-Rad fame, for his graphics collaboration in this article series.]
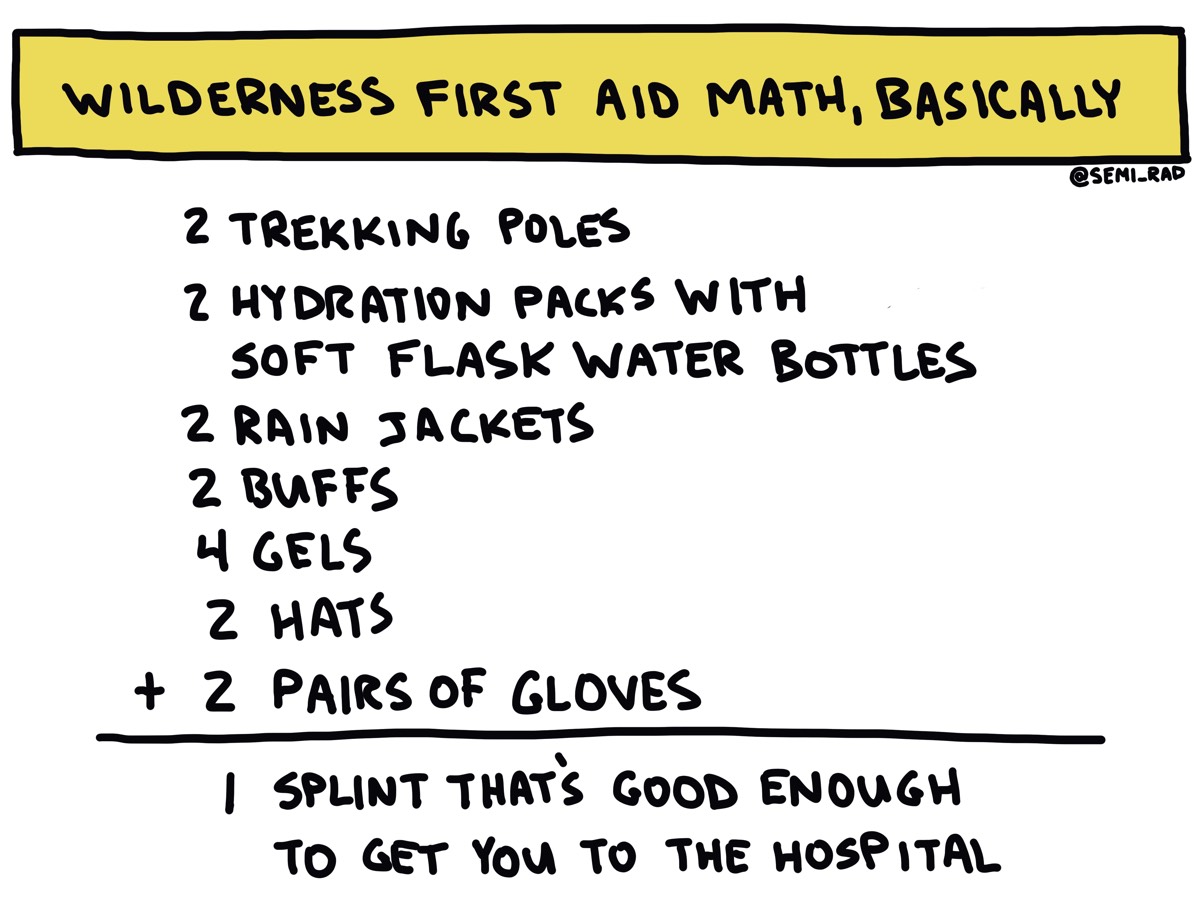
Image: Semi-Rad/Brendan Leonard
